Nathaniel Reinhart Photography

Galleries

  • Columbia Gorge
  • Cascades
  • The Sea
  • Flora
  • The West
  • City
  • Life
  • PhotoBlog
  • About
  • Contact

Archives

  • Apr 2009 (1)
  • Dec 2008 (1)
  • Sep 2008 (5)
  • Aug 2008 (3)
  • Jul 2008 (1)
  • Jun 2008 (3)
  • May 2008 (5)
  • Apr 2008 (10)
  • Jan 2008 (1)
  • Dec 2007 (1)
  • Nov 2007 (5)
  • Oct 2007 (3)
  • Sep 2007 (2)
RSS
Show/Hide NavBar
© 2004-2009, Nathaniel Reinhart
All rights reservered. Terms of Use

April 14, 2009

The Digital Grad ND

This is a rough draft post - please leave comments about how it can be made clearer and improved! Thanks! - Nathan

One major problem photographers face is shooting scenes have have too much difference between the dark parts and the light parks of the scene. For instance, how do you take a picture flowers during sunrise? The sky is really bright and getting all those wonderful warm tones from the sun rise, but the sun isn't "up" yet (obviously) and those flowers that you want to give the picture some interest are way to dark for your camera to take a picture of both of them.

This was exactly the problem that I faced a couple of weeks ago and I'm going to show you how I solved it.


The Foreground

The Background


Step 0) Take two pictures


Back in the "good ol' days of film", photographers would uses graduated neutral density filters to "even" out these types of problems. These were pieces of glass with one side dark and the other side light. They would put the dark part in front of the brighter part of the scene, toning it down to where the darker part was. You can certainly still do this in a digital age (I know several people who do), but you can very easily get the same effect, after the fact, with little work. The advantages to doing it after the fact are you get all kinds of opportunity to mess it up and try again and you can perfect it each time for each image. So...here is how you do it.

You need to take two pictures - one that has the dark part looking "right" and one that has the light part looking "right". If you are shooting in RAW and the scene works for it you can take one picture and develop the RAW file with different exposure settings to get this pictures. If you don't know what RAW is, take two pictures. In taking these two pictures the camera really needs to be on a tripod because you need these images to line up perfectly.

At this point you have two versions of the same image, one with the foreground looking correct, one with the background looking right. We need to put these together into a single image.

Load up both the foreground and the background into your favorite photo editor. They need to be loaded into the same image on different layers.

Step 1) Add a layer mask to the top layer.


Most editors have some sort of "mask" option if you right click on the layer. If you've never used a mask, you'll love it. Masks have to be the most flexible way of blending two layers together. A mask lets you "paint" away the part of the layer your want transparent. The areas of the mask that are black make that part of the layer transparent, where the areas that are white keep that part of the layer opaque. Shades of gray are partially transparent. That's where the magic is. You can paint, cut, copy, paste, blur, smudge, whatever you want to the mask without damaging the actual image. This is going to let you quickly create a complex blend between your layers.

Step 2) The basic blend


Find your editors gradient tool and make sure it is set to a basic black to white gradient. Now pick the area of your image that you will blend. For the example image, its going to be the area of the meadow in the distance, but not really the sky part. Now, on the layer mask, draw a gradient in the area you want to blend. It should look something like this:


Play with this a couple of times until you've got something that looks "pretty good". In my case it looks like this.


Step 3) Smudge it, smudge it and then smudge it some more


If you are satisfied with the basic blend then don't feel like you have to continue with these steps. However, these other steps can really fine tune the blend. Anyway, grab the smudge tool and a huge (300+ pixel radius) fuzzy brush and smudge the mask so that it doesn't look as "harsh". Parts of the transition that seem too dark should probably get smudged to make it lighter, vice versa for light areas.

This step should be quick and natural and sloppy. Don't think to hard about how you are smudging it. If you smudge it too far one way just smudge it back, but the goal really is to sloppy up the gradient. My mask looked like this when I was done with this step.


And my image now looks like this...


Step 4) Gaussian Blur


At this point it probably looks pretty good but there are areas that seem kind of harsh in the transition. To fix this, run the mask through a Gaussian Blur filter with the radius set to 300-600 pixels depending on taste. This will even out all that smudging you did and leave you with a silky smooth, but not even transition that has been hand tweaked to give you the best possible results. In my case the mask looked like this...


If you run it through the blur and it doesn't look right, go back to step 3 and smudge some more...or use a smaller radius. Play around with these steps to get a feel for how they behave.

Step 5) Final Touches


After you are satisfied with the transition, merge the layers together. At this point I like to run it through any additional processing, or at the very least adjust the curve just a little. I find that doing "something" to the whole image after blending, makes everything more "cohesive" and the image just works better. So...my end result, after blending and a minor curve adjustment looks like this.


I often use this technique if the scene is too dynamic for me to capture, or if my raw processor can't pull the details out to my satisfaction. Here are some other photos that have gone through similar processes (click for full size):
April in the Columbia Gorge Columbia Gorge The River Columbia In a Field of Wildflowers... There isn't much two steps to the left....

Send Forret Trackback ping

December 8, 2008

Mt. Hood and Trillium Lake


Because of the lack of snow this year, the road to Trillium Lake is still open. Alycia and I decided to take advantage of the easy access to the lake and catch the sunset. Turned out to be one of the most amazing sunsets I have seen this year.

I've been up to Trillium a couple of times now, but this is the first that the conditions we're worth taking pictures of. What I don't understand is why there are so many pictures from the dam, to me that is the least interesting view of the lake.

I have been so busy with life to post on here, but I have a bunch of new pictures on the way. The only reason this one made it here was my excitement!

Send Forret Trackback ping

September 10, 2008

Scott & Ann, a.k.a. "The Inlaws"


Almost a month ago, Alycia and I took her parents, Scott and Ann, to Laurelhurst Park, in south east Portland, to take portraits with them. In addition to just going out for fun to take pictures of them, Alycia was looking for experience and I was looking to get used to my new camera and flash before shooting a wedding later in August.

We had a lot of fun wandering around taking pictures and Laurelhurst is such a beautiful park. It was funny watching them react to the "Paparazzi", but after a while they relaxed to the cameras and had fun with it.

A couple more of my favorites from the session:


Send Forret Trackback ping

September 8, 2008

Forest Fire and Fireweed


Tree's Burned in the B&B Complex

During a recent backpacking trip, I spent a lot time hiking through burned out trees. Between the B&B Complex of 2003 and the Lake George Fire in 2006, there were only 5 or so miles of trail between McKenzie Pass and Santiam Pass that we're green trees. The rest of the trip was either burned out or lavabeds, both of which make for some surreal environments.

In 2003, the Booth Fire and the Bear Butte Fire burned over 90,000 acres of forest, primarily in the Mt. Jefferson wilderness. As we approached our destination at Santiam Pass we hiked through a small section of the B&B Complex. This area was in stark contrast to the area's of the more recent Lake George Fire we had hiked through on the previous day. There everything was desolate, but here renewal had already begun.


Fireweed, named such because it is one of the first things to grow again in burned areas, was in bloom. Every time I see Fireweed growing amongst the burned out trees, I marvel at how something so beautiful could come out of such desolation. In a lot of respects, it becomes an image for my life and how even amongst times of devastation, God is planting the seeds of something beautiful. A reminder of God's desire to restore and renew and an illustration of Romans 8:28 - "And we know that God causes all things to work together for good to those who love God, to those who are called according to His purpose." (NASB).

Send Forret Trackback ping

September 6, 2008

My Dad, Hiking the PCT


This is my Dad. A couple of years ago he decided he wanted to hike all of Oregon Pacific Crest Trail in sections. He got a guide book and started highlighting sections of trail and writing the date he hiked it. Today, about 3 years since he first had the idea, he now has nearly 150 miles logged on the trail and, even though Oregon still has a ways to go, is already talking about doing Washington sections.

Because of his goal, a lot of the hiking or backpacking trips we take together involve at least a chunk of the PCT, that is if they are not composed entirely of it. During our trips, I've ended up hiking some fantastic areas, many of which I would love to go back to. The PCT is a fantastic way to see the Oregon Cascades. Staying basically at the crest, it loops around numerous mountains and goes through some amazing country.

This was taken on base of Mt. Washington during a recent backpacking trip. Although we never did see the mountain, it sure was a pretty area in the fog and the wildflowers were in bloom.

Send Forret Trackback ping

September 5, 2008

Backpacking the Mt. Washington Wilderness


"Did I look miserable?"
"Yeah."
"Good! I want something to show my kids some day."


A couple of weeks ago, my brother, dad and I did a bit of backpacking in the Mt. Washington Wilderness. We had been planning a trip in the Mt. Jefferson Wilderness for weeks when we heard that a storm would be blowing in on our first night. Because we were planning to have a late start and 40 mile an hour gusts, at 1am, on the side of Mt. Jefferson didn't sound fun (or really even all that safe), we decided to start a day later, hopefully miss the storm coming through and do a shorter, 2-day trip through the Mt. Washington Wilderness.


Looking out over the lava beds

So, we start out at McKenzie pass, with the rail falling sideways, and go trekking through the lava beds. As if to mock us, while we were getting soaked, it wasn't raining at all just a couple miles to the east. About a mile in, the trail was sheltered enough for me to snap three or four pictures before the lens was covered with rain drops. This would be the last section of trail with any kind of visibility we would see for a long while. We continued our climb through the lava beds and the higher we got the harder the wind blew and the harder rain fell and the more the visibility dropped. When we hit the tree line, and the welcome shelter from the wind and rain, we had walked right past Belknap Crater (6,872 feet) and Little Belknap Crater (6,305 feet) and simply didn't see either one of them. We plugged on for several more miles before deciding to wait out the rain in the tent.

We soon discovered that the tent leaked.

After waking up wet and putting on wet boots and wet...well you get the idea (if not, see the picture at the top of the article for a visual reference), we continued around the base of Mt. Washington.


Into the Mist, On the base of Mt. Washington

Day two started off great. That is to say, the rain wasn't coming down sideways and their wasn't as much of it. The base of Mt. Washington sure was pretty in the fog, although we never did see the mountain.


Zach, Resting at the Lake

As we continued, the weather got better and it turned into a nice day to be out for a hike. After realizing that we were a bit ahead of our scheduled pickup, we took it slow and easy for the last few miles, stopping for a bit to enjoy places like the little lake pictured above.

In the end it was a good trip. Very wet. But, I enjoyed it, I like the pictures I took and I would totally do it again next time.

Send Forret Trackback ping

September 3, 2008

Shinji & Vanessa


A couple of weeks ago, I had the pleasure of shooting an engagement session for my friend Shinji and his bride-to-be Vanessa. The engagement session was kind of a last minute thing, shot two weeks before the wedding. We decided to shoot it primarily for two reasons; the first being, my wife Alycia (you may have seen her picture) was going to be shooting the wedding with me and was looking for as much experience as she could get before hand. The second reason came from a conversation with Andy and Elisha at e[a] studios about how much more relaxed the wedding pictures are when you get the couple in front of the camera before the wedding. After having a "NO DUH!", "Shoulda had a V8" moment, we promptly called up Shinji and Vanessa and suggested meeting up at Edgefield, to which Vanessa responded "OH! Edgefield!".

So one hot August evening, we all wandered around Edgefield and had a blast taking pictures of these guys. After a while, they relaxed in front of the camera and when time came to take pictures at the wedding, they were totally relaxed.

Here are some highlights from the session.


Send Forret Trackback ping

August 6, 2008

Into the Sun


More and more often, I find myself breaking one of the "rules" of photography and pointing my camera into the sun. While, typically, this results in a dark and/or washed out subject with awful ghosting and lens flare, if embraced as a stylistic decision, shooting into the sun can add a lot of character to a picture.

The popular advice is to shoot with the sun behind you and let its light light up whatever you're taking a picture of. And that is all fine and good, but like most "rules" in photography, knowing the rule is less about following it to the letter and really more about knowing how to get away with breaking it. Knowing what happens under these situations (i.e. pictures into the sun end up washed out with lens flare) is the first step towards using for your own devices.


For this picture of daylilies, I purposefully shot into the sun. Did you notice the prominent lens flare, the washed out areas and the darker subject mater? All those trademark "I shot into the sun" characteristics are quite clear in this picture (just in case you missed the big ball of fire in the sky). Now, did you notice what we gained by shooting into the sun? The semi-transparent daylilies are all lit up and glowing from the sun and all those trademark characteristics come together and add a bunch of drama and contract into what could otherwise be a flat, standard, boring flower picture.

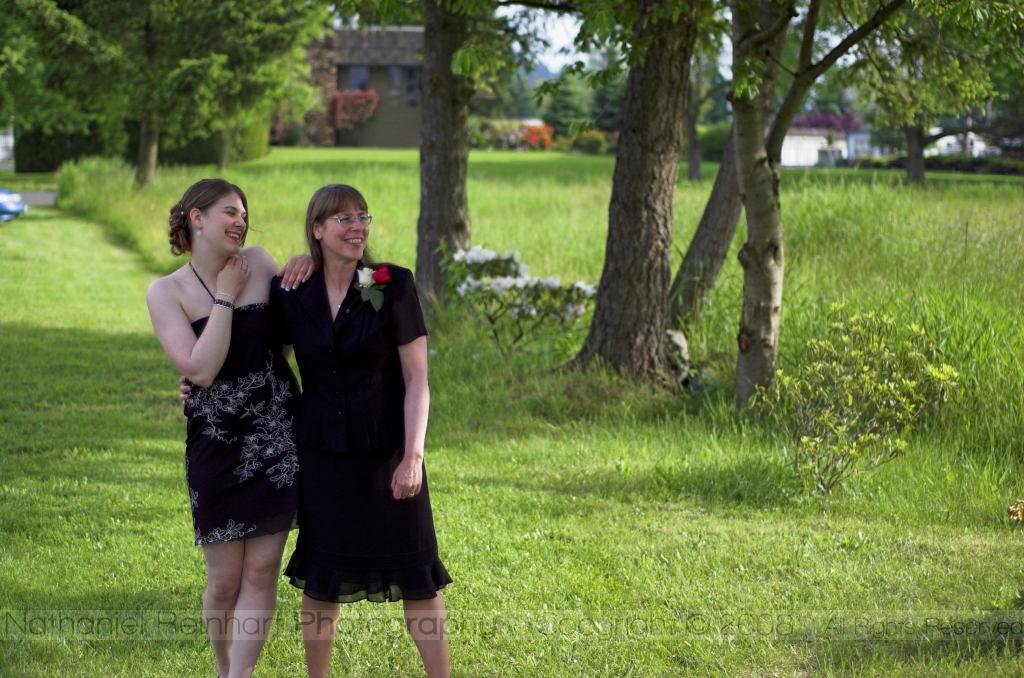
Not all pictures into the sun have to be so over the top. Take, for example, the picture of my mom at the top of the article, which has been reproduced here for your convenience.


In it you have the same trademarks, but much more subdued. The lens flare is smaller and adds a subtle, warm feel to the picture, while the subject is only mildly washed out and isn't overly dark. By framing the picture without the sun, its effects are limited to the light spill hitting the edges of the lens and end up significantly diminished. Also because of the lack of the sun in the frame, the look of this picture could be totally changed by adding a lens hood or shading the lens with your hand. All in all I really like the way the warm tones from the flare and washout combine with the sunlight hitting her hair to enhance the portrait.


Another option for reducing the washout and flare is to block the sun with something. In this case, I decided to block it with my brother's head. Not only is he keeping the sun out of my eyes and saving me twenty bucks on sunglasses, he's got this great "wrap around" light that lights up his hair and separates him from the background. Also, he's got some great light hitting him, as it's sunlight that's bouncing off the trees and buildings behind me. Bouncing a light is a really effective tool to make a relatively "small" light (in this case the sun - yes it's small, did you notice that his head is blocking the whole thing?) into a "big" light (the trees and buildings behind him cannot be blocked out by his head, therefore they are big). The advantage of bigger lights is they are softer and provide a more flattering light for your subject.

While shooting into the sun is something that can get over used, cliché or produce some really nasty pictures, it is something that can be used to enhance a photograph. I quite like the results I've had with it and will be refining my technique until the rain returns in October.

Send Forret Trackback ping

August 3, 2008

Underwater


Another picture from last weekend's pool fun. I hadn't done "pool pictures" before and was looking to get more familiar with my new camera, so I got it out and started taking some shots with it. Before I knew it, everyone was really into it and we were all having a blast.

This is my brother Zach, enjoying the refreshing pool. To get this shot, I had to stand on the diving board and lean towards the pool (kinda scary with a brand new camera, but totally worth it!) while he swam underwater from one end towards me. This was snapped half a second before he surfaced.

This was tricky to get something that looked "right". If I took the shot when he was too deep, the water would distort him in odd ways and you would have a silly putty Zach, run over by a dump truck and tossed in the river by the mob look. If he blew bubbles, I would have a great picture of "Bubble Face". If I wasn't careful in my positioning and framing the sun reflecting on the water (I forgot my polarizer, and no I don't want to talk about it) would make it look like some helicopter was shining a spot light on him so the FBI agents on the ground could swoop in and make the arrest.

Having worked through those challenges, I'm quite happy with the picture I've made. It's not often that every time I look at a picture I go "wow, I love that picture" and even rarer is it one of mine. But when it is, I love that feeling. They aren't always my "best" pictures, but they always are special to me.

Send Forret Trackback ping

August 1, 2008

Backyard Baseball Dreams


These days its rare to see Jon with out something relating to baseball. Even though his season is over, he is always up for some catch, practicing some pitching or working on his batting.

After playing catch with everyone he could talk into it, he laid on the grass and tossed the ball to himself.

I remember doing that, how relaxing it was to toss a ball up in the air and catch it, then do the same thing over and over ... excuse me, I think I need to go find a baseball.

Send Forret Trackback ping

July 31, 2008

Anticipation


I couldn't let July pass me by with no post. It's funny, I have so many pictures on the way and no time to put them up here. Until I find the time, you will have to be satisfied with a quick post.

This is the view you see before diving into my Grandparents' pool. We were able to spend this last weekend with them and enjoyed a fair bit of swimming while we were at it.

More on the way!

Send Forret Trackback ping

June 13, 2008

The Evolution of 'Idea'

I'm going to do something a little bit different with today's post. I'm going to take a shot at describing how I expand an idea into a photograph.

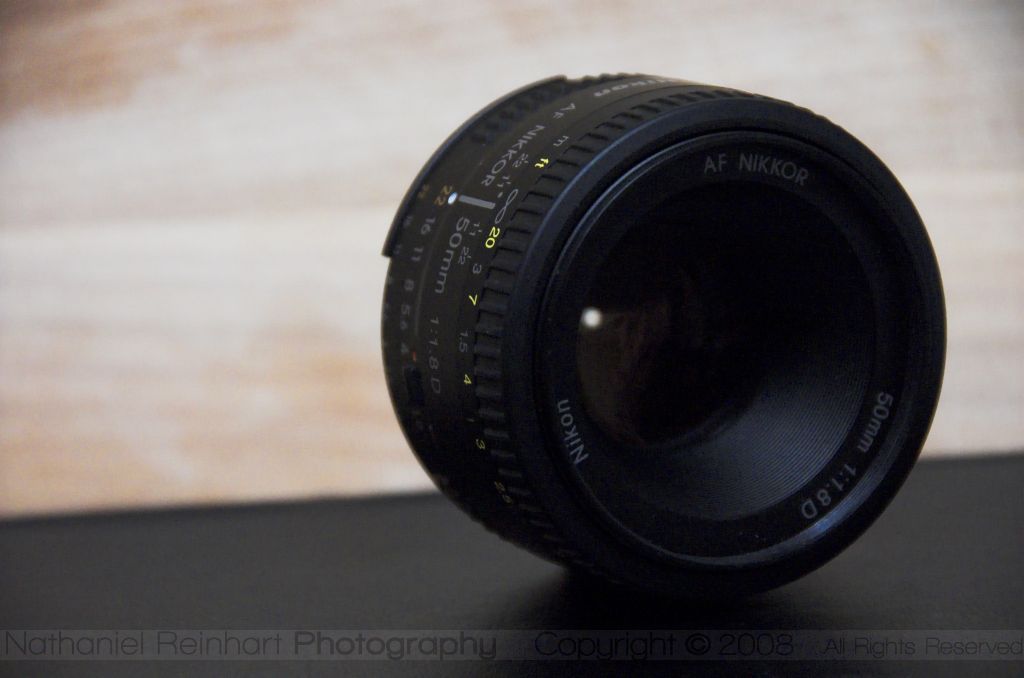
The first thing for an evolving idea is to come up with the idea in the first place. Well, that's not entirely true. Even before that you have you have to have a problem. Ideas are a response to a problem. My problem came in the form of "I want a picture of my new lens and I want it to look good". Problem established: make it look good. So, I made it look good. Ideas are easy as pie when you work things out like this!

Ok, so it wasn't quite that easy. I had to take two pictures.

Or three.

Or five rather.

Or more then five, but let's leave the actual number up for debate.

The point is that deciding that you want to make it look good isn't enough. You have to answer the question of how. The answer to this question is your idea. The problem should be thought about, pondered, sketched out, debated and so on and so forth. Once you have an idea that is "workable", that is to say enough of an idea to do something, you can move into the do something phase.

So, back to taking a picture of my lens. My workable idea ended up something like this, "I want a shallow depth of field and I'll put it on a black surface with wood in the background." Not overly complex, maybe not the most original or the greatest but it's a good starting point and more importantly its workable. So I set up that shot and took this picture:

First Lens Picture

Ugh. Not what I wanted. Back to the drawing board, right? Not quite so fast, there are a significant number of things we can get out of this picture. I do like the black surface, but let's lose that ugly wood and I don't like the framing or how the lens is sitting.

Stop.

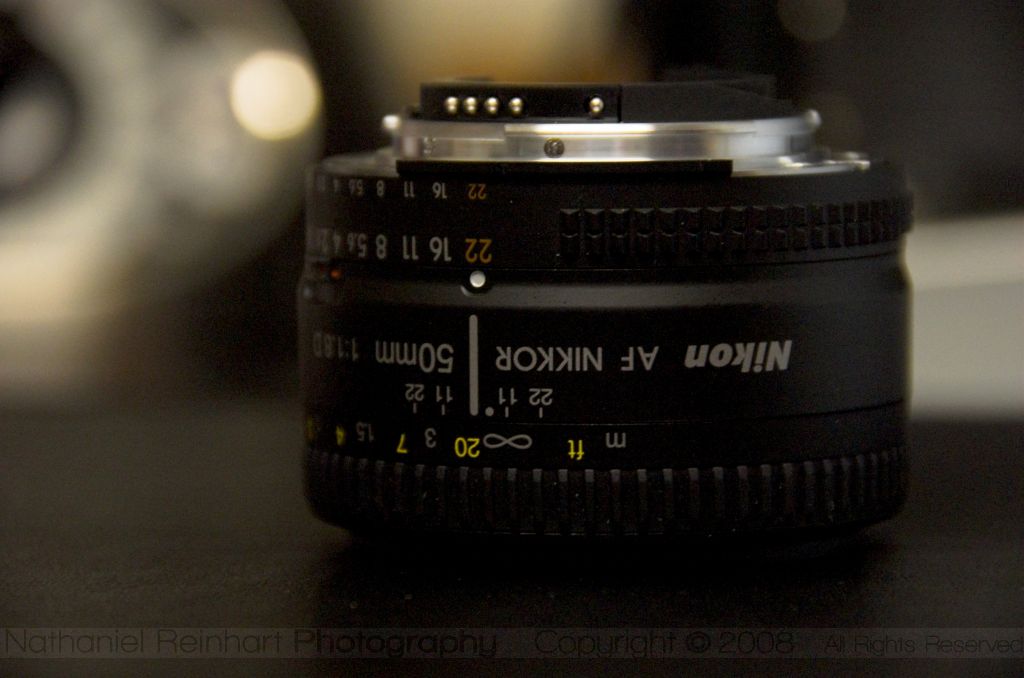
Did you catch that? The idea just evolved, based on what was working and what wasn't. This is key. Experiment, evaluate, repeat. So, I made some adjustments and took this:

Second Lens Picture

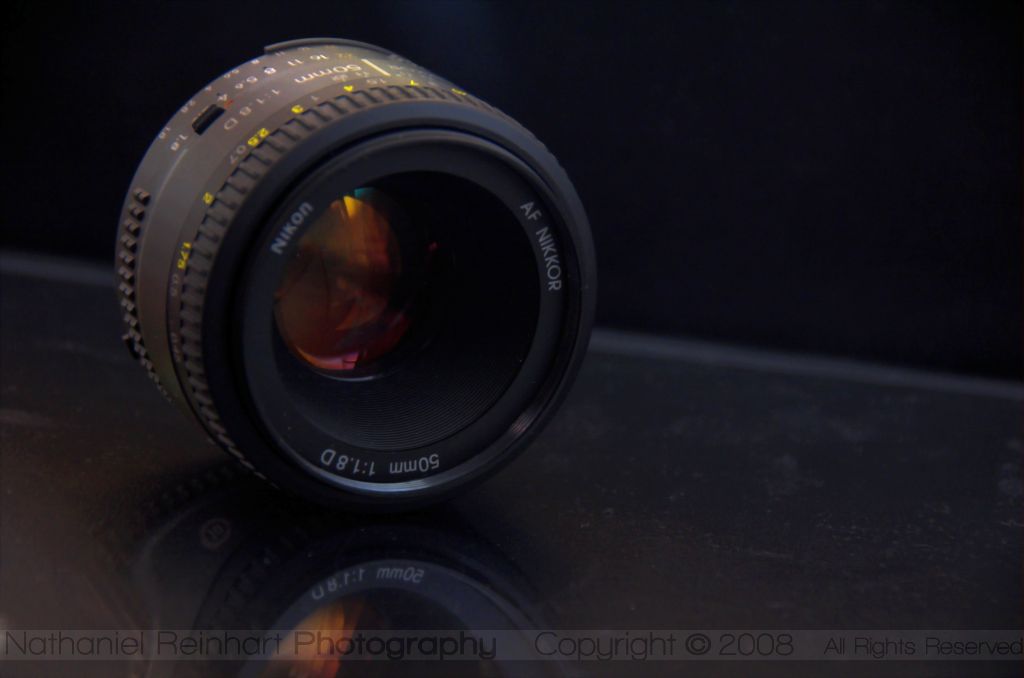
Ok, so the wood is gone, that's a big plus! But you know, I kind of liked it on its side and wouldn't it be great if it was reflecting off the black surface? You know, I like where this is going, but let's put the camera on a tripod and drop in some flash to have some better lighting and a better quality picture. The idea evolves, adjustments are made, and another picture is taken.

Third Lens Picture

Hey, my knees just might willing to forgive me for that abuse I put them through! And that flash really added a lot, but that background just doesn't do it for me anymore. Let's drop in a black background. Evolved, adjusted, new picture.

Fourth Lens Picture

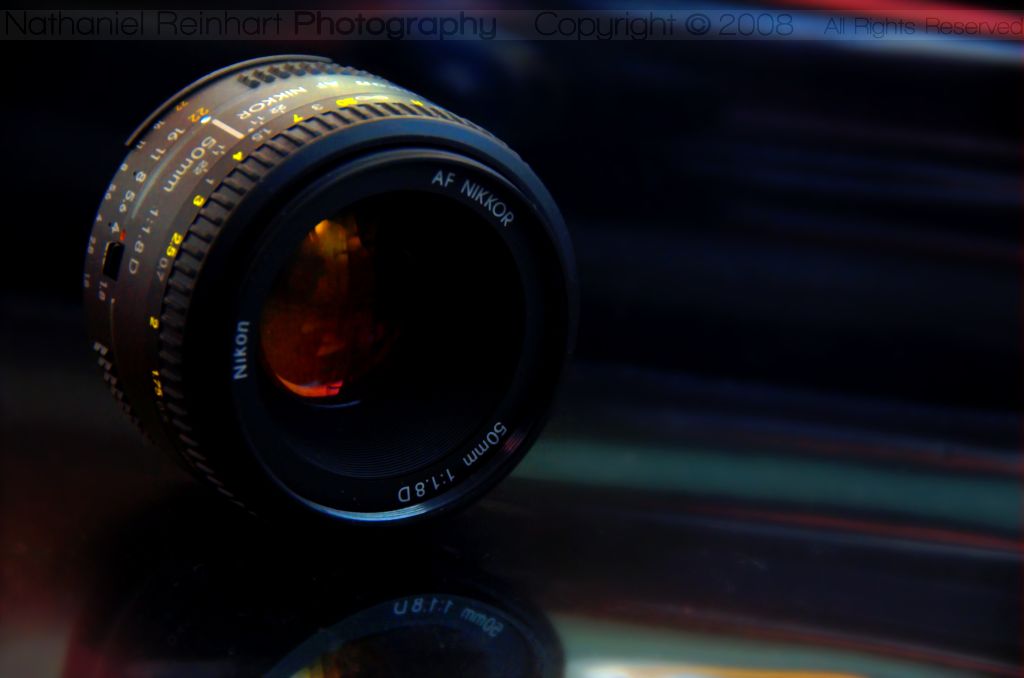
Nice. But, now there is a funky difference between "shiny black" and "black". Can we just make the whole thing "shiny black"?

Final Lens Picture

Hey! How about that? It's a picture of my new lens and it looks good!

Ideas, in particularly good or great ideas (not that this one is particularly revolutionary) are the result of iteration upon iteration of identifying the problems and trying it again. They are rarely the result of a spontaneous epiphany, but instead are the product of hard work.

I find that it is much better to build upon a bad, but workable idea then to sit around waiting for the perfect idea to hit. That isn't to say that doing your homework ahead of time isn't important, but that experimentation, being flexible with your ideas and learning from your mistakes will go along way.

I'll finish this up with a couple of pointers for evolving your ideas:

  • Plan out your idea before hand. Think about it. Sketch it out. Mull it over in your mind. Only then try and execute it.

  • DO NOT be overly attached to your plans or to the previous ideas. They had their shot, but now it's time to build on top of them. They served their purpose in getting you here, but keep moving forward.

  • Do not edit in camera. DO NOT edit in camera. DO NOT EDIT IN CAMERA! Just because you think that you are going down a good path does not mean that you are. That shot that just wasn't what you wanted, could end up being your best shot in the set. Just because you hated it on the camera does not mean that you won't love it on your computer.


before and after

Send Forret Trackback ping

June 4, 2008

Lesson's Learned from Jeremiah and Catherine's Wedding


This last weekend I was the best man at my friends Jeremiah and Catherine's wedding. When I wasn't trying to untie rings from the flower girl's basket, or chasing down the groom's boutonniere, or trying to figure out when I was supposed to walk the maid of honor out, I was snapping pictures and acting as a "backup photographer" (as Jerry kept calling me).

Shooting the wedding, even as a secondary photographer, was an interesting experience. The wedding was indoors and mood lit (read pitch black). Recording it really pushed my limits and skills. Because I was part of the ceremony, I didn't take any pictures during it, however I took my fair share before and after. Here are some lessons learned or reinforced, notes on the experience and some pictures I liked!


Lesson #1: A cool location can trump bad light.
This shot was the result of the groom exploring in the back while we waited for the ceremony to start. The light was that typical dim, bare bulb, "warehouse" florescent light that just gave everything a nasty green color. But, even if it had bad light, it did have a cool location . So we shot the picture. It is black and white, because I liked the texture of the brick; it is not black and white because I was salvaging it. In fact, out of the people who have seen both, the color version is more popular!


Lesson #2: Small mirrors are great compositional elements
Because you can get great reflections and still hide the camera!


Lesson #3: The spectators are interesting too
This is grooms mother and sister (who was also a bride's maid) watching the groom take formal pictures with his father. While the main photographer was taking the formals, I pointed my lens to capture them having fun watching.


Lesson #4: Move your feet
Lesson #5: Get low
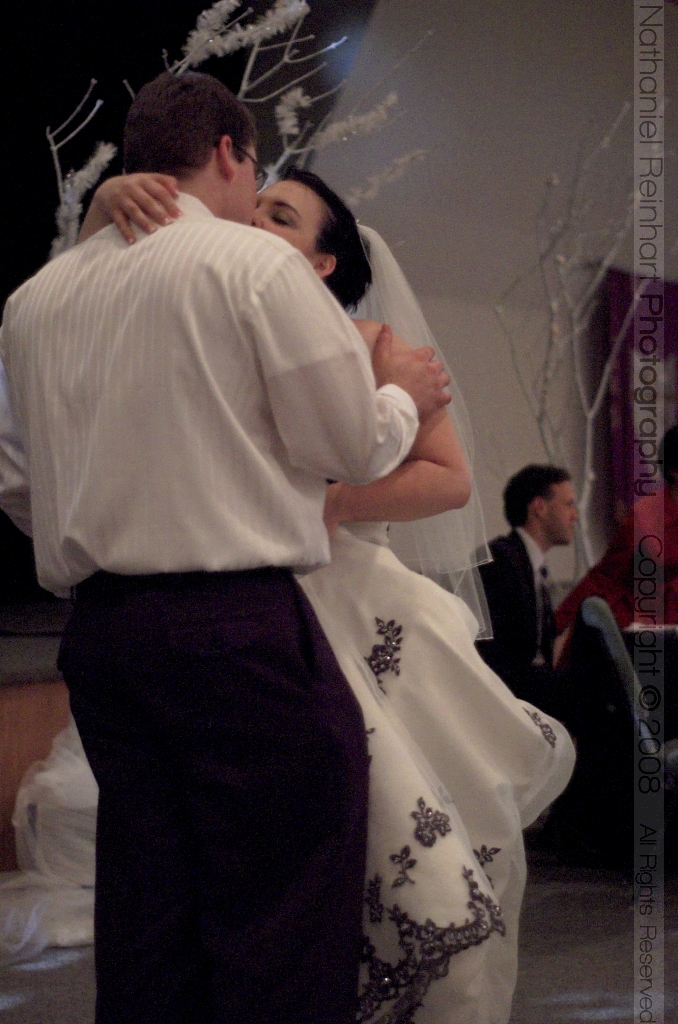
I almost missed this shot. The music started and the bride and groom hit the dance floor for their first dance, so I started taking pictures including the one at the top of this article. These were cool, but after taking 5 or 6 I was looking for something different. At this point I noticed the disco ball and worked my way around to include it and the only way to get the ball and the couple to fit was to drop down really low.


Lesson #6: Backlighting is awesome
Stuff like this you can't plan. The light coming through her veil is the "annoying-auto-focus-doesn't-work-in-the-dark" light from the main photographer's camera. Note, unless I really need it, I do my best not to use this light. This might be the only time I have had one of these lights pointed my way and not been annoyed by it.


Lesson #7: Candids only happen if your subject doesn't realize you are taking a picture
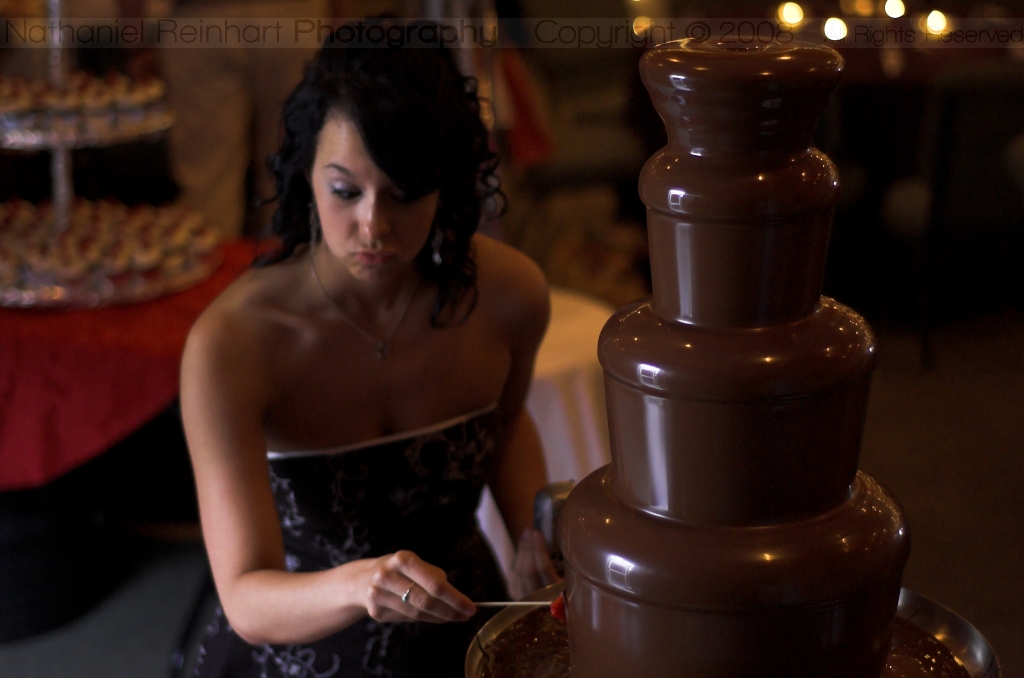
I was taking a picture of the fountain and one of the bride's maids came up, ducking so as not to ruin my picture. I assured her that she hadn't and she went about covering this berry with chocolate, while I went about finishing up taking that picture of a chocolate fountain.

In the end, weddings are pretty cool to shoot and I quite enjoyed watching my good friend get married.

Congratulation's Jerry and Catherine and best wishes in your new life together!

Send Forret Trackback ping

Newer Posts Older Posts Home
Subscribe to: Posts (Atom)