Nathaniel Reinhart Photography

Galleries

  • Columbia Gorge
  • Cascades
  • The Sea
  • Flora
  • The West
  • City
  • Life
  • PhotoBlog
  • About
  • Contact

Archives

  • Apr 2009 (1)
  • Dec 2008 (1)
  • Sep 2008 (5)
  • Aug 2008 (3)
  • Jul 2008 (1)
  • Jun 2008 (3)
  • May 2008 (5)
  • Apr 2008 (10)
  • Jan 2008 (1)
  • Dec 2007 (1)
  • Nov 2007 (5)
  • Oct 2007 (3)
  • Sep 2007 (2)
RSS
Show/Hide NavBar
© 2004-2009, Nathaniel Reinhart
All rights reservered. Terms of Use

June 13, 2008

The Evolution of 'Idea'

I'm going to do something a little bit different with today's post. I'm going to take a shot at describing how I expand an idea into a photograph.

The first thing for an evolving idea is to come up with the idea in the first place. Well, that's not entirely true. Even before that you have you have to have a problem. Ideas are a response to a problem. My problem came in the form of "I want a picture of my new lens and I want it to look good". Problem established: make it look good. So, I made it look good. Ideas are easy as pie when you work things out like this!

Ok, so it wasn't quite that easy. I had to take two pictures.

Or three.

Or five rather.

Or more then five, but let's leave the actual number up for debate.

The point is that deciding that you want to make it look good isn't enough. You have to answer the question of how. The answer to this question is your idea. The problem should be thought about, pondered, sketched out, debated and so on and so forth. Once you have an idea that is "workable", that is to say enough of an idea to do something, you can move into the do something phase.

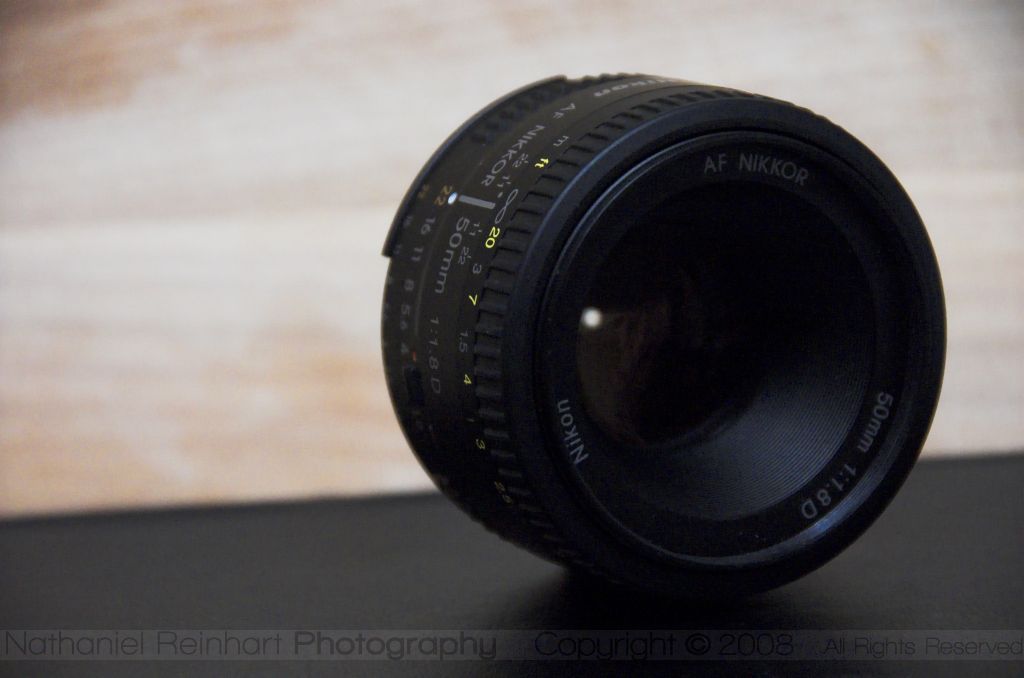
So, back to taking a picture of my lens. My workable idea ended up something like this, "I want a shallow depth of field and I'll put it on a black surface with wood in the background." Not overly complex, maybe not the most original or the greatest but it's a good starting point and more importantly its workable. So I set up that shot and took this picture:

First Lens Picture

Ugh. Not what I wanted. Back to the drawing board, right? Not quite so fast, there are a significant number of things we can get out of this picture. I do like the black surface, but let's lose that ugly wood and I don't like the framing or how the lens is sitting.

Stop.

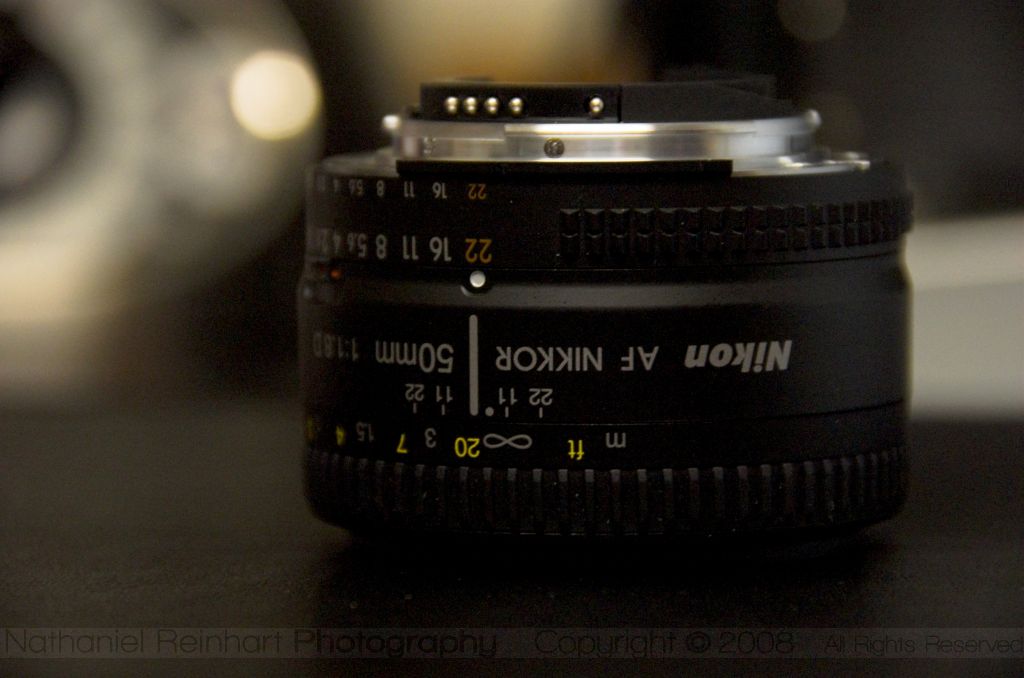
Did you catch that? The idea just evolved, based on what was working and what wasn't. This is key. Experiment, evaluate, repeat. So, I made some adjustments and took this:

Second Lens Picture

Ok, so the wood is gone, that's a big plus! But you know, I kind of liked it on its side and wouldn't it be great if it was reflecting off the black surface? You know, I like where this is going, but let's put the camera on a tripod and drop in some flash to have some better lighting and a better quality picture. The idea evolves, adjustments are made, and another picture is taken.

Third Lens Picture

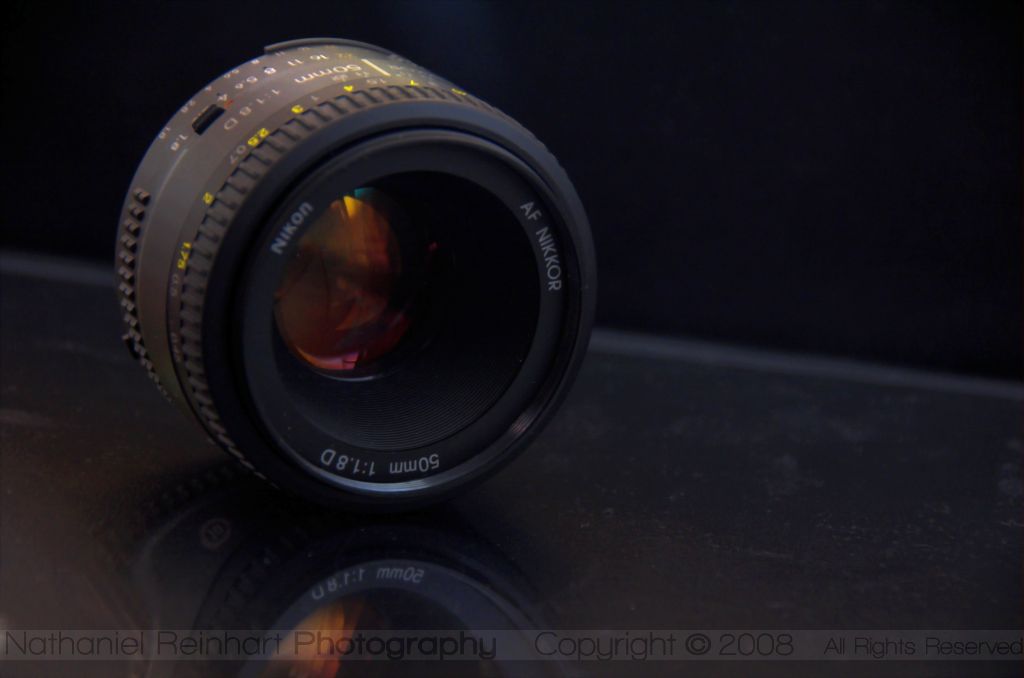
Hey, my knees just might willing to forgive me for that abuse I put them through! And that flash really added a lot, but that background just doesn't do it for me anymore. Let's drop in a black background. Evolved, adjusted, new picture.

Fourth Lens Picture

Nice. But, now there is a funky difference between "shiny black" and "black". Can we just make the whole thing "shiny black"?

Final Lens Picture

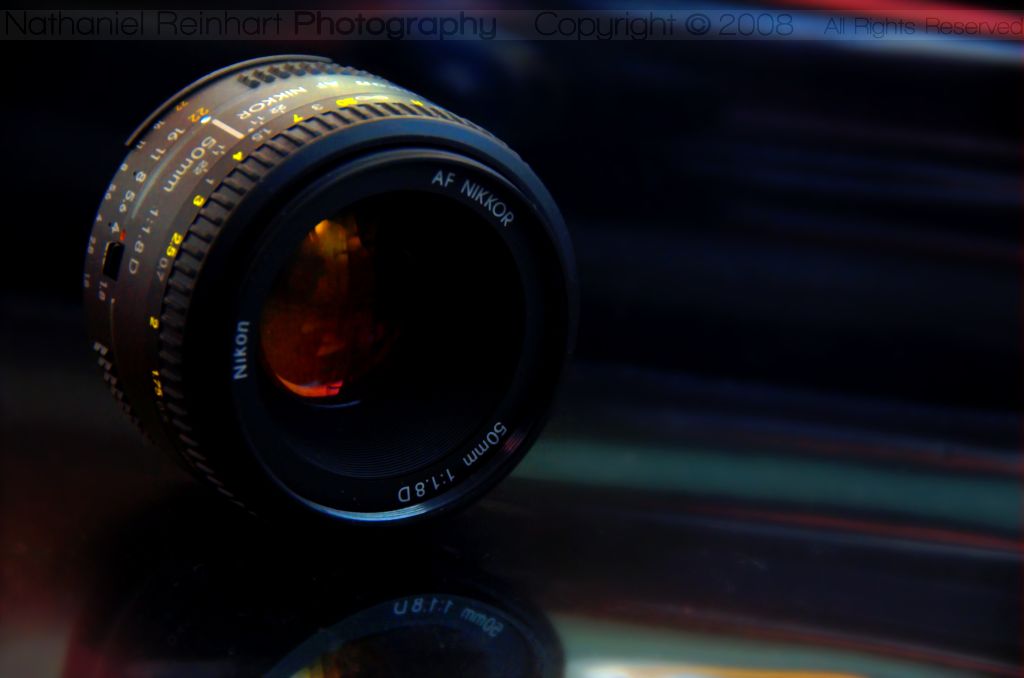
Hey! How about that? It's a picture of my new lens and it looks good!

Ideas, in particularly good or great ideas (not that this one is particularly revolutionary) are the result of iteration upon iteration of identifying the problems and trying it again. They are rarely the result of a spontaneous epiphany, but instead are the product of hard work.

I find that it is much better to build upon a bad, but workable idea then to sit around waiting for the perfect idea to hit. That isn't to say that doing your homework ahead of time isn't important, but that experimentation, being flexible with your ideas and learning from your mistakes will go along way.

I'll finish this up with a couple of pointers for evolving your ideas:

  • Plan out your idea before hand. Think about it. Sketch it out. Mull it over in your mind. Only then try and execute it.

  • DO NOT be overly attached to your plans or to the previous ideas. They had their shot, but now it's time to build on top of them. They served their purpose in getting you here, but keep moving forward.

  • Do not edit in camera. DO NOT edit in camera. DO NOT EDIT IN CAMERA! Just because you think that you are going down a good path does not mean that you are. That shot that just wasn't what you wanted, could end up being your best shot in the set. Just because you hated it on the camera does not mean that you won't love it on your computer.


before and after

Send Forret Trackback ping

June 4, 2008

Lesson's Learned from Jeremiah and Catherine's Wedding


This last weekend I was the best man at my friends Jeremiah and Catherine's wedding. When I wasn't trying to untie rings from the flower girl's basket, or chasing down the groom's boutonniere, or trying to figure out when I was supposed to walk the maid of honor out, I was snapping pictures and acting as a "backup photographer" (as Jerry kept calling me).

Shooting the wedding, even as a secondary photographer, was an interesting experience. The wedding was indoors and mood lit (read pitch black). Recording it really pushed my limits and skills. Because I was part of the ceremony, I didn't take any pictures during it, however I took my fair share before and after. Here are some lessons learned or reinforced, notes on the experience and some pictures I liked!


Lesson #1: A cool location can trump bad light.
This shot was the result of the groom exploring in the back while we waited for the ceremony to start. The light was that typical dim, bare bulb, "warehouse" florescent light that just gave everything a nasty green color. But, even if it had bad light, it did have a cool location . So we shot the picture. It is black and white, because I liked the texture of the brick; it is not black and white because I was salvaging it. In fact, out of the people who have seen both, the color version is more popular!


Lesson #2: Small mirrors are great compositional elements
Because you can get great reflections and still hide the camera!


Lesson #3: The spectators are interesting too
This is grooms mother and sister (who was also a bride's maid) watching the groom take formal pictures with his father. While the main photographer was taking the formals, I pointed my lens to capture them having fun watching.


Lesson #4: Move your feet
Lesson #5: Get low
I almost missed this shot. The music started and the bride and groom hit the dance floor for their first dance, so I started taking pictures including the one at the top of this article. These were cool, but after taking 5 or 6 I was looking for something different. At this point I noticed the disco ball and worked my way around to include it and the only way to get the ball and the couple to fit was to drop down really low.


Lesson #6: Backlighting is awesome
Stuff like this you can't plan. The light coming through her veil is the "annoying-auto-focus-doesn't-work-in-the-dark" light from the main photographer's camera. Note, unless I really need it, I do my best not to use this light. This might be the only time I have had one of these lights pointed my way and not been annoyed by it.


Lesson #7: Candids only happen if your subject doesn't realize you are taking a picture
I was taking a picture of the fountain and one of the bride's maids came up, ducking so as not to ruin my picture. I assured her that she hadn't and she went about covering this berry with chocolate, while I went about finishing up taking that picture of a chocolate fountain.

In the end, weddings are pretty cool to shoot and I quite enjoyed watching my good friend get married.

Congratulation's Jerry and Catherine and best wishes in your new life together!

Send Forret Trackback ping

June 2, 2008

Mystery Film


I'm sorry for the lack of posts in recent weeks, life has been hectic lately. I'm putting up more content over these next few days. Just because life has been hectic doesn't mean I stopped taking pictures! In fact, I have a BILLION photos I need to post. Well not a billion, but I have some!


A little more then a week ago, I got hit by the film bug. That is to say, I was dying to experience the joy that is film - it's larger range, the ability to hand it to a lab and get the processing done, the joy of flipping through pictures without thinking about how to process them. So, last Saturday, I reached for one of my film cameras and wandered out to take some pictures.

First thing was to decide which film camera to use. There were two options, I could go with the Holga or I could go with the Mamiya/Sekor 500DTL (a decent camera in 1968). I opted for the Mamiya, as the Holga just seemed too..."holga-ish"? So, I grabbed the camera and discovered, much to my dismay, that the little watch batteries that power the meter had died. So, I decided what the heck, I'll sunny-16 it and wing the rest.

I finished off the roll that was in there (and started a new one), took it to be developed and thought "I don't really know what else is on that roll". So when I picked it up I was pleasantly surprised that I had pictures ranging from the last year and a half. I quite like the way these turned out and am quite hopeful that the current roll of film doesn't take that long to finish.

So with out further ado, here are some highlights!


Send Forret Trackback ping

Newer Posts Older Posts Home
Subscribe to: Comments (Atom)